In the natural division of labor in our domestic pact, I make the yogurt and Gowan makes the cheese. It’s largely based on equipment: I have a gas oven, and she has a dehydrator. But, I like my job a lot. It might have something to do with a genetic predisposition to yogurt (I am Greek after all). But, I like the many steps to yogurt making and find the process grounding and meditative. And, now I will share all my secrets with you. The thing about making yogurt, and making most things really, is that none of it is very complicated. It just requires a few simple pieces of equipment and good timing. You can’t let the milk go bad, make sure you don’t run out of starter, and make the time to get it going and also be sure that you will be available to take it out many hours later. (I have ruined yogurt due to late night escapades…) So, it is really an act of being present more akin to meditation than cooking. But, maybe they are one and the same. Making yogurt is also a lesson in freedom.
There are lots of different ways to make yogurt. I’m not an expert, this is just the way I do it and I think it reliably makes damn good yogurt. Gowan agrees.  I learned from the book Wild Fermentation by Sandor Katz – which is a fantastic resource for all things cultured and fermented. I don’t have a yogurt maker, but I’m not opposed to using them – I just don’t have one and don’t seem to need it. So here it is:
Equipment:
- A sauce pan or small/medium soup pot – sized according to how much milk you have and yogurt you want to make
- A gas oven – this is important for this method. If you don’t have a gas oven, you will need to find another way to incubate the yogurt at a steady temp (like a yogurt maker). Some people put it in a cooler, wrapped in towels, next to bottles of hot water. The oven is just easy and the temp seems to stay steady.
- A candy thermometer
- Whisk or rubber spatula
- Mason jars – I like the wide mouth quart or pint sizes for yogurt making
- Ice and a sink or large bowl for making an ice bath
Ingredients:
- Cow Milk. We are lucky to have fresh milk right from the udder. You can use any kind of milk – store bought, Organic, rBGH free, but we strongly recommend using whole milk – always. I have ranted about the integrity of whole milk in another post, so I will not belabor this point here. It is possible to make yogurt with other kinds of milk, but cow is what we have, so that’s what we’re using right now. It’s true that all milk is breast milk, and we recommend getting as close to the breast as possible. It really will taste better.
- A little bit of yogurt for starter – this can be from your last batch, or from the store, or from a friend (which is my favorite place to get it). You don’t need much, but we’ll get into that later.
- That’s it!
Directions:
- Pour milk into saucepan, insert the candy thermometer and begin to heat on low to medium low. Stir frequently. Do NOT let the milk burn. That is your number one priority. I post up next to the stove and try not to leave it, because I burned it once and I will never let that happen again. Burnt milk = gross yogurt.
- Keep stirring diligently until you raise the temp of the milk to 180 degrees. Stirring keeps it from burning and keeps the temp even throughout the pan.
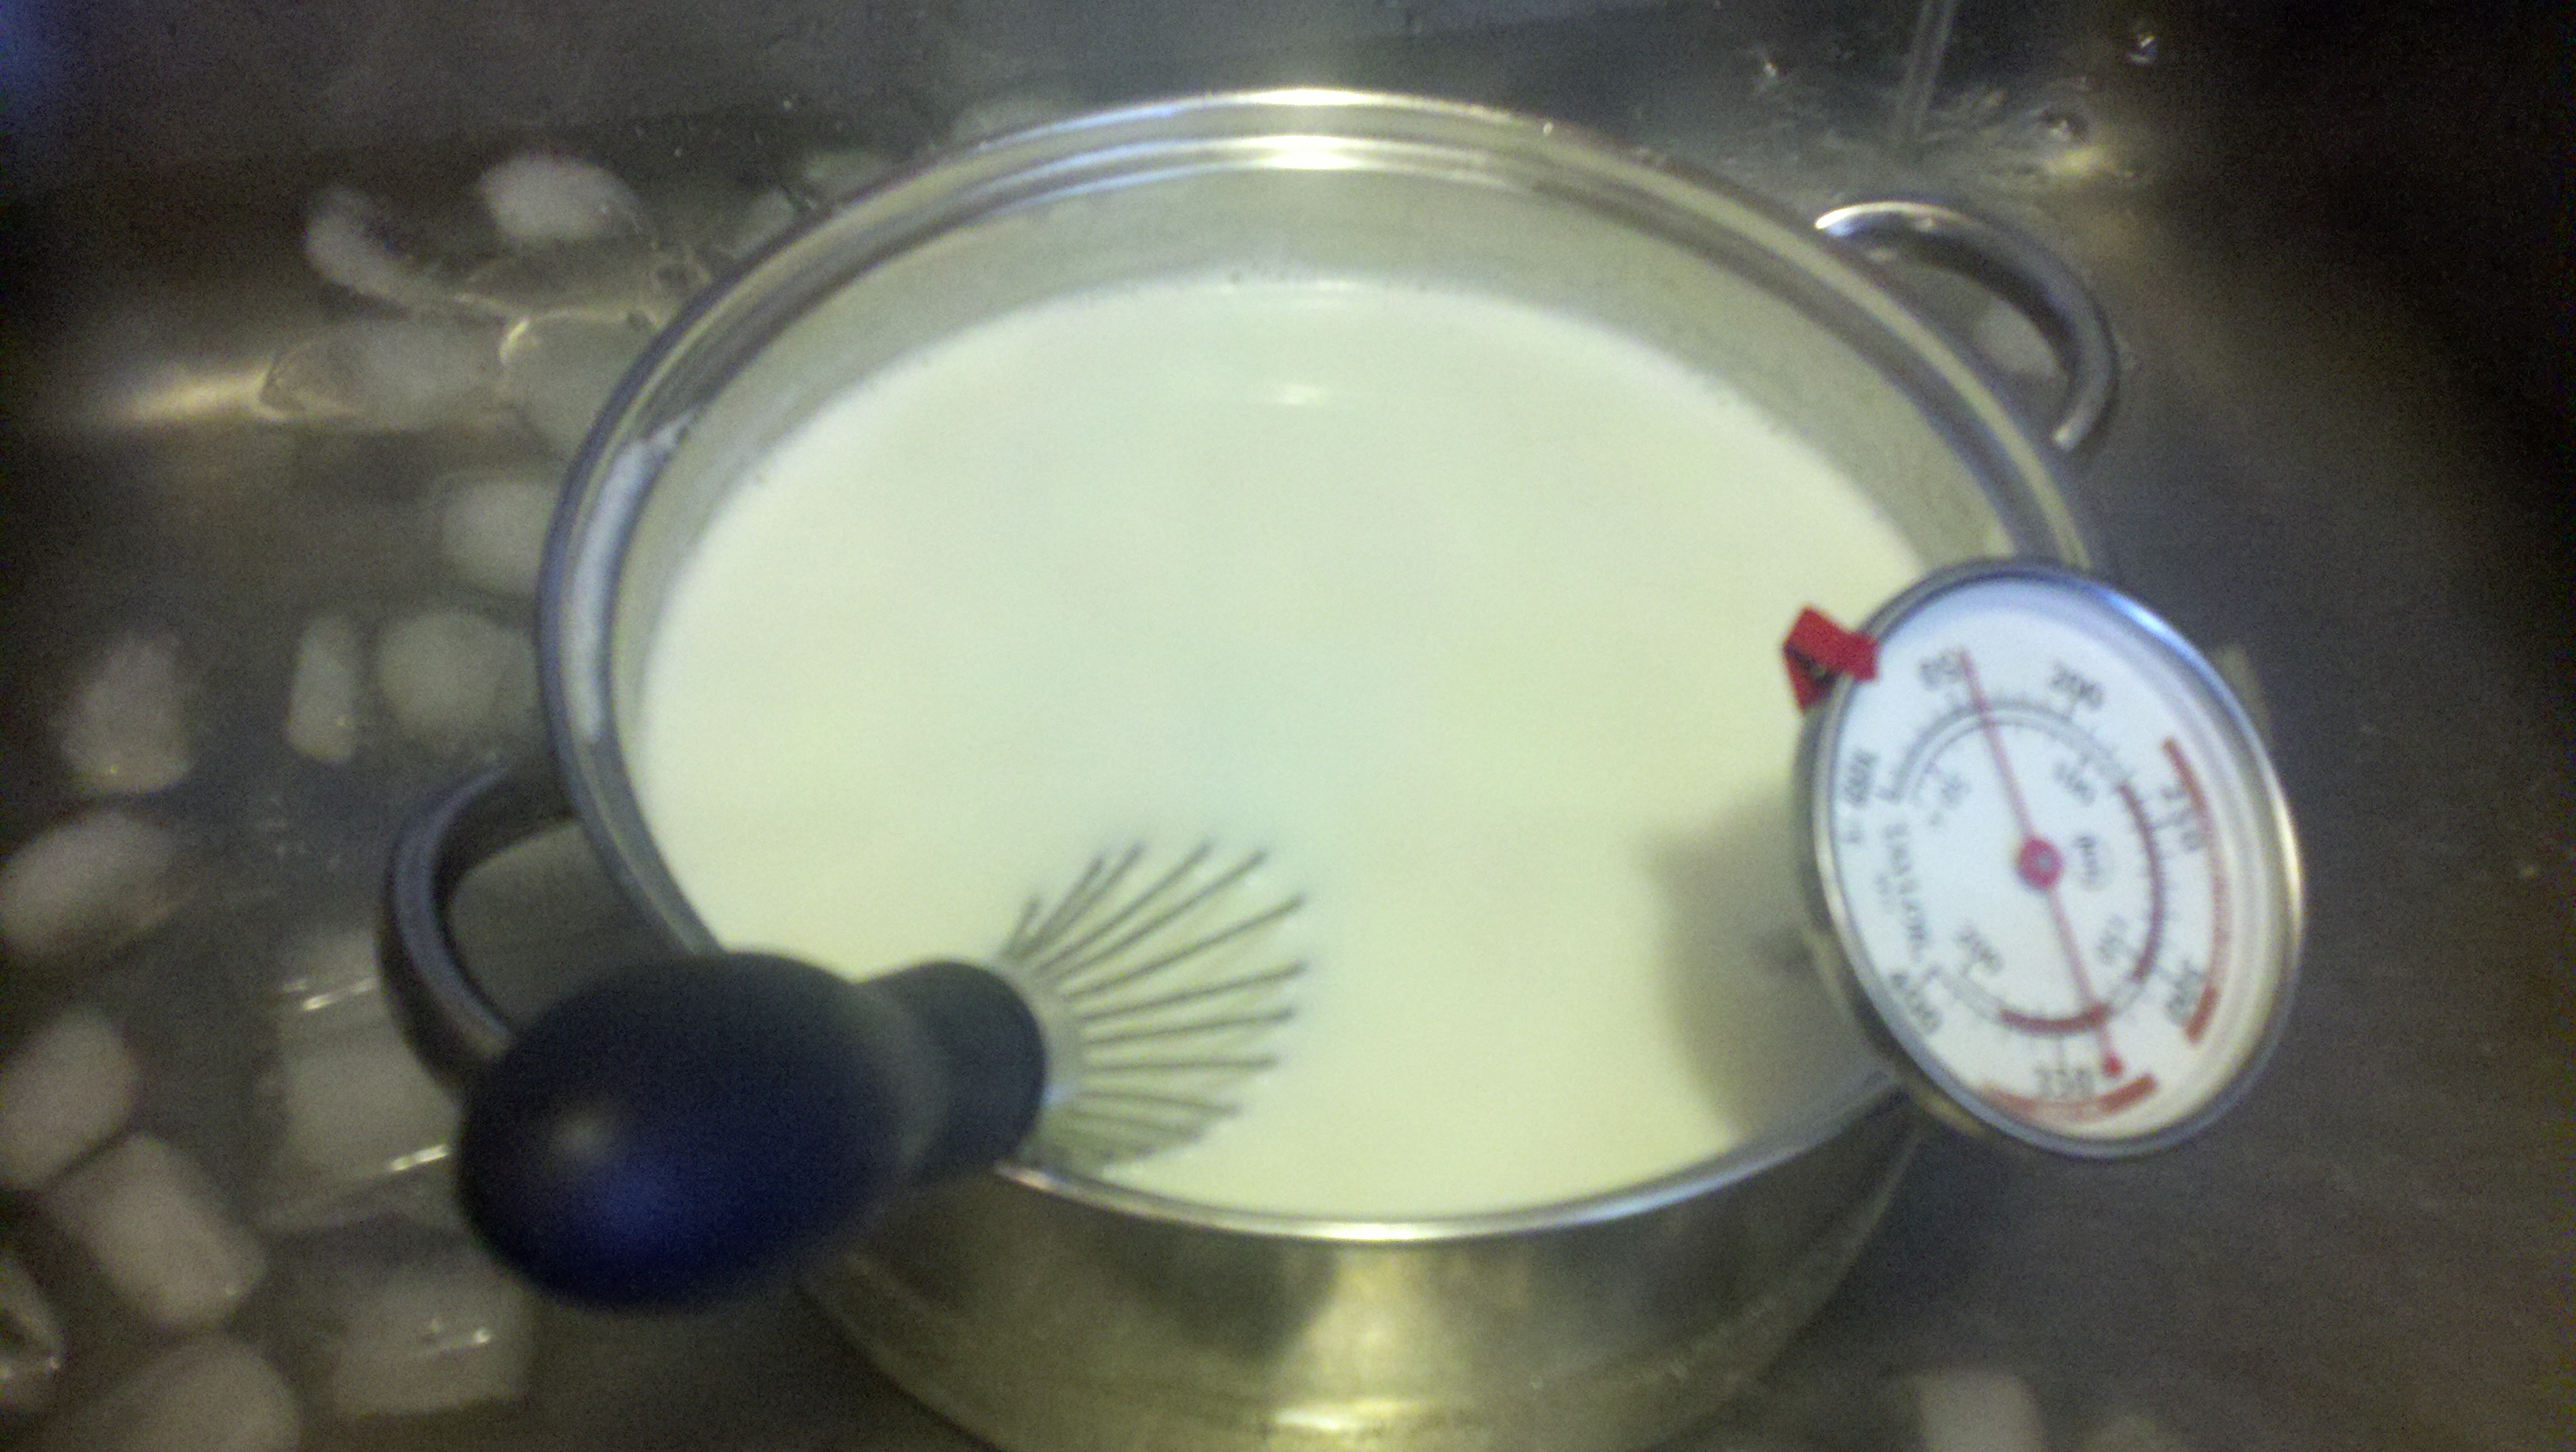
- Prepare an ice bath. Once the milk has reached desired temp, turn off the burner. Place the pan in the ice bath and allow the milk to cool to 110 degrees, stirring occasionally so it cools evenly as well.

- Turn the oven on to the lowest setting for a few minutes while you complete the next step.
- Pour the cooled milk into the mason jars and then stir in the starter.
 You need way less starter than you think – only 1 tablespoon per quart. I learned this from one of my favorite cooking quotes of all time, found in Wild Fermentation and borrowed from the Joy of Cooking. (P.S. I just added Joy to our Wish List b/c I don’t actually own a copy which is unbelievable, yet true.) Ok, so this is why yogurt is all about freedom:
“You may wonder why so little starter is used and think that a little more will produce a better result. It won’t. The bacillus, if crowded, gives a sour, watery product. But if the culture has sufficient ‘Lebensraum’ [German for ‘room to live’], it will be rich, mild, and creamy.”
- Turn off oven, and then place jars on oven rack for incubation. The oven will retain warmth from pre-heating it, and the pilot light will keep it warm enough for the cultures to get happy and do their thing. Try not to move the jars at all once incubation begins – it makes the yogurt unhappy.
- Leave yogurt in the oven for 8-12 hours, depending on desired thickness – or when you remember to take it out! I like to do this in the evening so that there is fresh yogurt in the morning – which is the best thing ever (and so that my oven isn’t occupied during the day).
- Remove and enjoy straight out of the jar! If you are Greek like me, or just have really good taste, you may want to strain your yogurt to make it even thicker. To strain it, you line a colander with cheesecloth and place in a bowl. Pour in the yogurt and let it sit in the fridge overnight. The whey will separate, making your yogurt even thicker, creamier and more delicious than it already was. Save the whey for other cooking uses. This is what I do when I have the patience to not eat it right away.


P.S. Within a day of posting this, someone offered to gift us with a copy of The Joy of Cooking! We are feeling so loved.